The perfect bread recipe for people who are not confident using yeast or kneading their own bread.
Prepare and walk away - no fuss!
![]()
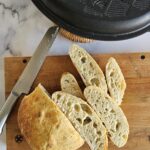
The texture is very similar to look and touch as that of a loaf of sour dough. But there's no starter to feed, or folds that take up your day.
Bread baking has long been considered both an art and a science, with intricate techniques and time-honored traditions passed down through generations. For many, the idea of making a homemade loaf conjures images of flour-dusted countertops, hours of kneading, and the satisfying, rhythmic motion of working dough by hand. But recently, a different kind of bread has captured my attention: the no-knead loaf.
The no-knead bread phenomenon, popularised by Jim Lahey of Sullivan Street Bakery in New York, has revolutionised home baking by stripping the process down to its most essential elements.
The most significant draw of the no-knead loaf is its sheer simplicity. Traditional bread recipes often require a lot of time, effort, and technique, which can be intimidating for beginners. Kneading, in particular, is a skill that takes practice to master. The no-knead method, however, eliminates this step entirely. With just a few basic ingredients—flour, water, salt, and yeast—mixed together and left to rest, anyone can create a beautiful loaf of bread with minimal effort.
The process is as straightforward as it gets: mix your ingredients, cover the dough, and let it sit. Time does the rest, allowing the dough to develop gluten and flavor naturally. This "hands-off" approach makes the no-knead fool-proof to those that may feel daunted by more complicated recipes.
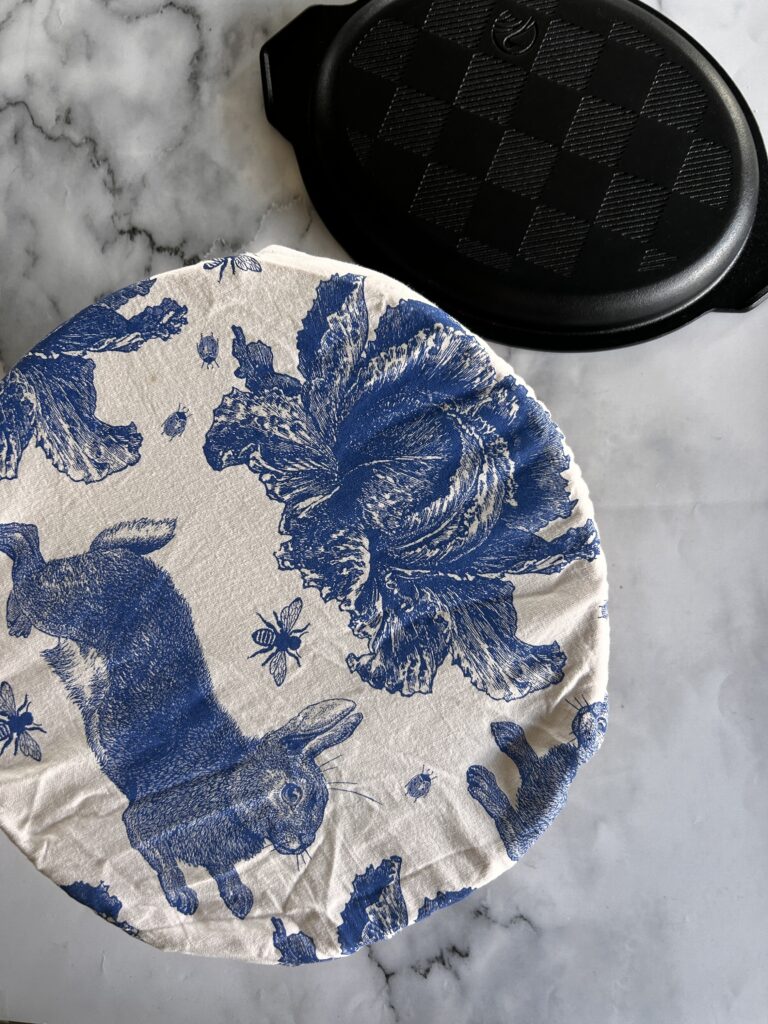
This gorgeous reusable and washable cover is from Design Blackwood.
One of the most challenging aspects of bread baking is achieving consistent results. Factors like the temperature of your kitchen, the quality of your ingredients, and your kneading technique can all influence the final product. The no-knead method simplifies many of these variables, making it easier for bakers to achieve success on their first try.
Because the dough is left to ferment slowly over an extended period, it becomes more forgiving. The no-knead technique allows for a higher hydration dough, which can be challenging to knead by hand but is perfect for this method. The long rise time gives the yeast ample opportunity to do its work, leading to a dough that is easy to handle and bakes up beautifully.
Gain confidence to make it 'fancy'
For many home bakers, the no-knead loaf serves as a gateway to more advanced bread-making techniques. Once you’ve mastered the basics, you might feel inspired to experiment with different types of flour, add-ins like seeds or dried fruit, or even try your hand at shaping and scoring your loaves.
The confidence gained from successfully baking a no-knead loaf can open the door to exploring other bread styles, such as sourdough or baguettes. However, even as you grow as a baker, the no-knead method remains a reliable standby for its ease and consistently delicious results.
The no-knead loaf is more than just a trend; it’s a testament to the idea that great bread doesn’t have to be complicated. It’s about stripping away the intimidation factor and making the art of bread-making accessible to all. Whether you’re a seasoned baker looking for a low-effort recipe or a beginner ready to try your hand at homemade bread, the no-knead method is a gateway to the joy of baking.
Next you may like to try my trusty family loaves recipe.
![]()
Get into it!
This recipe offers simplicity, consistency, and the deep satisfaction of pulling a perfect, golden loaf from the oven with minimal effort. And in the end, isn’t that what we all want—a little bit of magic, right from our own kitchens?
What is a Dutch Oven and is it important?
A Dutch oven is an invaluable tool in bread making, especially for those looking to achieve a rustic, artisan-style loaf with a crisp crust and a tender crumb.
- Heat Retention: Dutch ovens are made from thick, heavy materials like cast iron, which retain and distribute heat evenly. This even heat distribution is crucial for baking bread, ensuring that the loaf cooks uniformly throughout.
- Moisture Trapping: When covered, a Dutch oven traps steam released from the dough as it bakes. This steam plays a key role in the development of a crisp, crackly crust, which is a hallmark of artisan bread. The steam keeps the outer layer of the dough moist in the early stages of baking, allowing it to expand fully before the crust sets.
- Steam Injection: Professional bakery ovens often have steam injection systems to create the perfect crust. A Dutch oven replicates this effect by trapping steam naturally generated by the dough, which leads to a glossy, blistered crust that’s difficult to achieve in a standard home oven.
- Consistent Heat: The heavy lid of the Dutch oven also helps maintain consistent internal temperatures, mimicking the effects of a professional baking environment.
- Controlled Environment: The sealed environment of the Dutch oven ensures that the heat and steam are concentrated directly around the dough, promoting better expansion and a more pronounced rise.
- Multi-Purpose Tool: Dutch ovens are incredibly versatile and can be used for a wide range of cooking methods beyond bread making, including braising, roasting, and stewing. Their durability ensures they can handle high temperatures and repeated use, making them a long-lasting investment for any kitchen.
- No Special Equipment Needed: Unlike other methods of creating steam in a home oven, such as placing a pan of water on the oven floor, using a Dutch oven is straightforward and doesn’t require additional tools or techniques.
- Simplicity: For home bakers, especially those new to bread making, using a Dutch oven simplifies the process. There’s no need to worry about manually adding steam or adjusting oven temperatures mid-bake. You simply preheat the Dutch oven, place your dough inside, cover it, and let the Dutch oven do the work.
- Consistent Results: A Dutch oven helps produce consistent, reliable results, making it easier for beginners to achieve bakery-quality bread at home.
- Use in Any Oven: A Dutch oven can be used in any conventional oven, making it accessible for home bakers without specialized equipment. Its portability also means it can be used in outdoor cooking settings, like a wood-fired oven or even over a campfire, further extending its utility.
No Knead Rustic Loaf of Bread
Equipment
- 1 medium sized bowl
- 1 Dutch Oven
- 1 Dough whisk
- 1 reusable bowl cover (or compostable cling film)
Ingredients
Bread
- 3 cups plain flour (450 grams)
- 2 teaspoon sure bake yeast or instant yeast (1 teaspoon of active yeast)
- 2 teaspoon salt
- 1½ cups warm water (approximately 36℃) (375 mls)
Dusting
- 2 tablespoon plain flour
Instructions
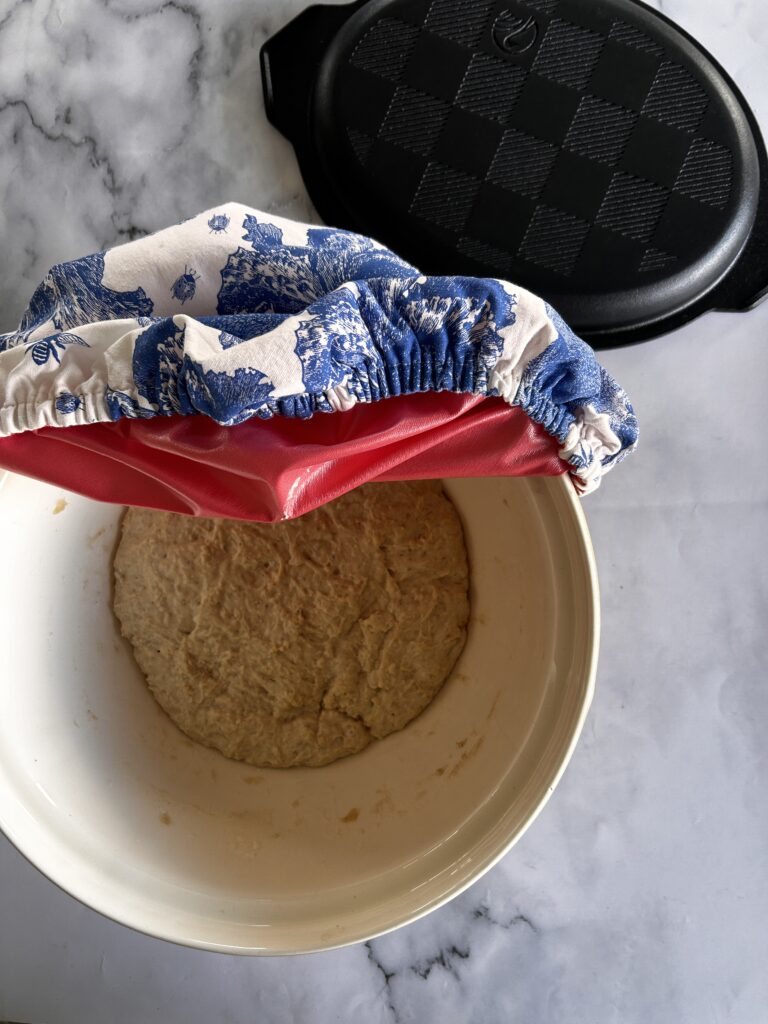
- Combine all the ingredients (minus the extra flour) in to a medium sized bowl and combine using a dough whisk. The dough will be wet and sticky.
- Cover with a reusable cover, compostable cling film or even a plate. Leave in a warm spot for 3 hours until it has doubled in size. The dough will look airy and may have some bubbles on the surface.(If you wanted to prepare this loaf for the next day you could place it in the fridge at this stage, and let it proof overnight. Continue with the rest of the instructions as follows).
- Preheat the oven to 220℃ (450℉) and heat your Dutch Oven.
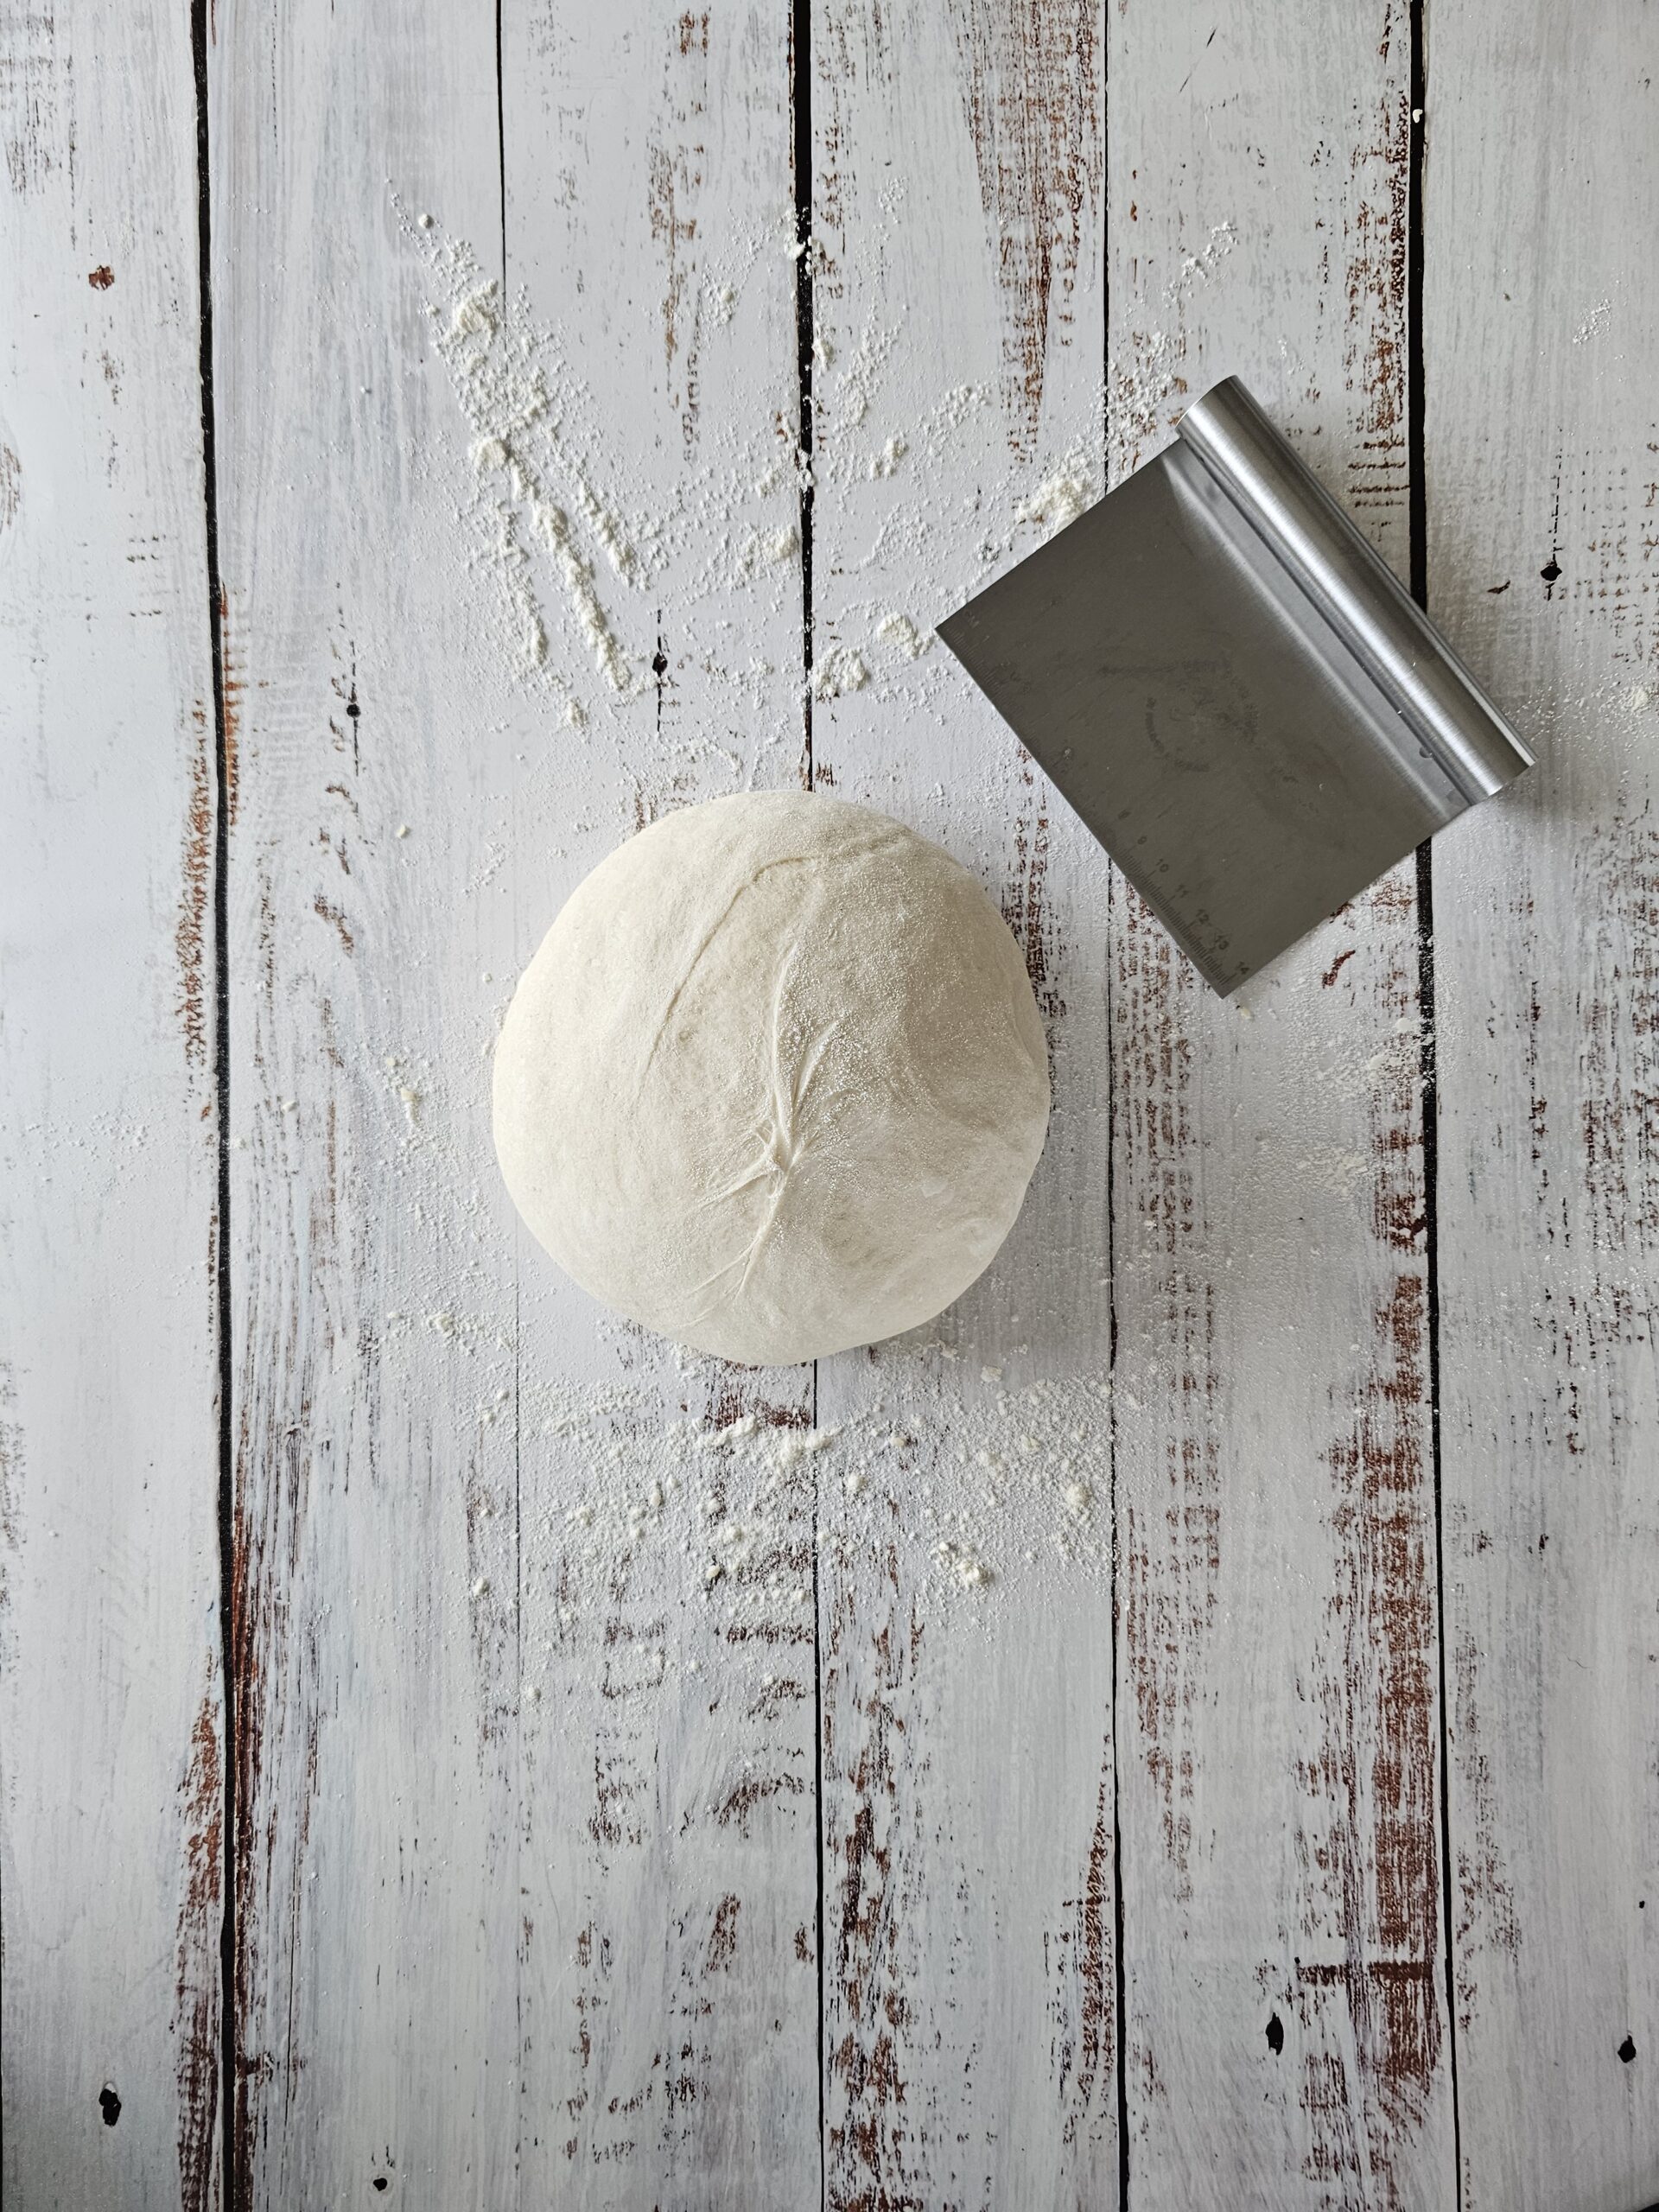
- Tip you dough onto a floured bench, sprinkle a little flour on top too.Use a dough scraper to knock back the dough and shape it into a rough circle shape by moving your scraper around the dough bringing the bottom of the dough to the top. Repeat as you move around the dough.
- Use your dough scraper to move the dough onto a piece of baking paper. It will be sticky. Don't worry if it looses it's shape. The weird shapes make for tasty crusty bits on your bread.
- Place into your Dutch Oven and cook for 20 minutes.
- Remove the lid and cook for another 10 minutes.
- Cool for 15 minutes (I know it's tempting to cut it straight away, but it's best after a rest. This way the bread won't squish while you cut it).