
This slice was first tested out last weekend by the entrants of the North Otago Highland Association dancing competition.
It was well received by all of those that sampled the slice, and the children who were stationed at the canteen aptly named it the ‘Barbie Slice’.
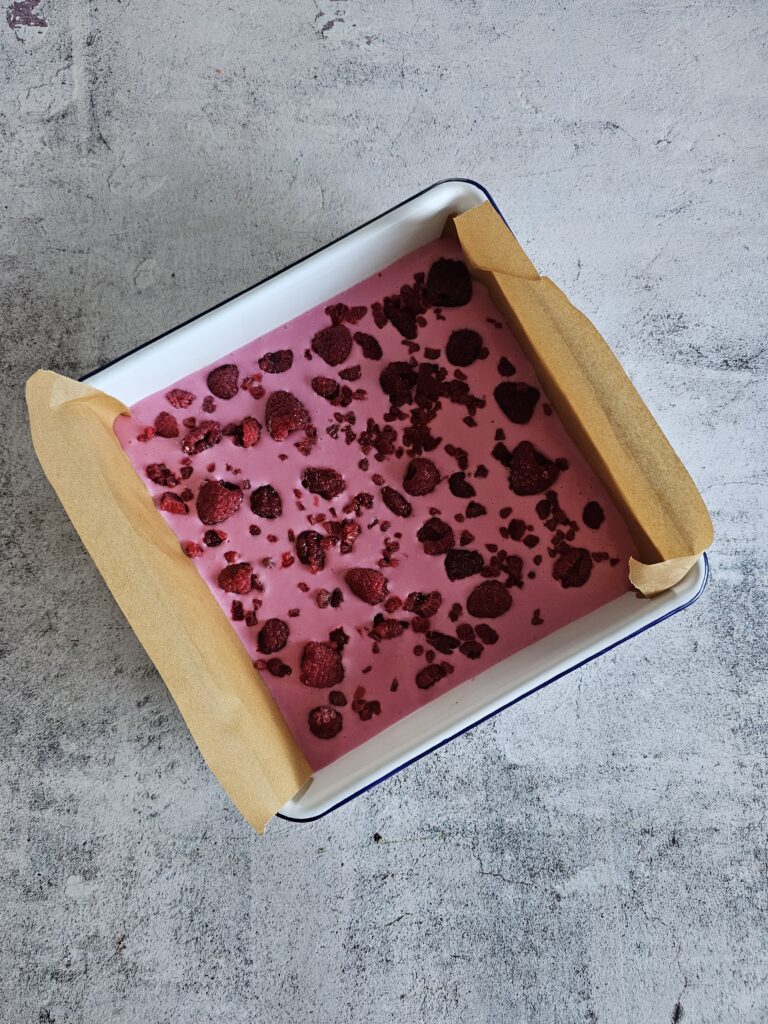
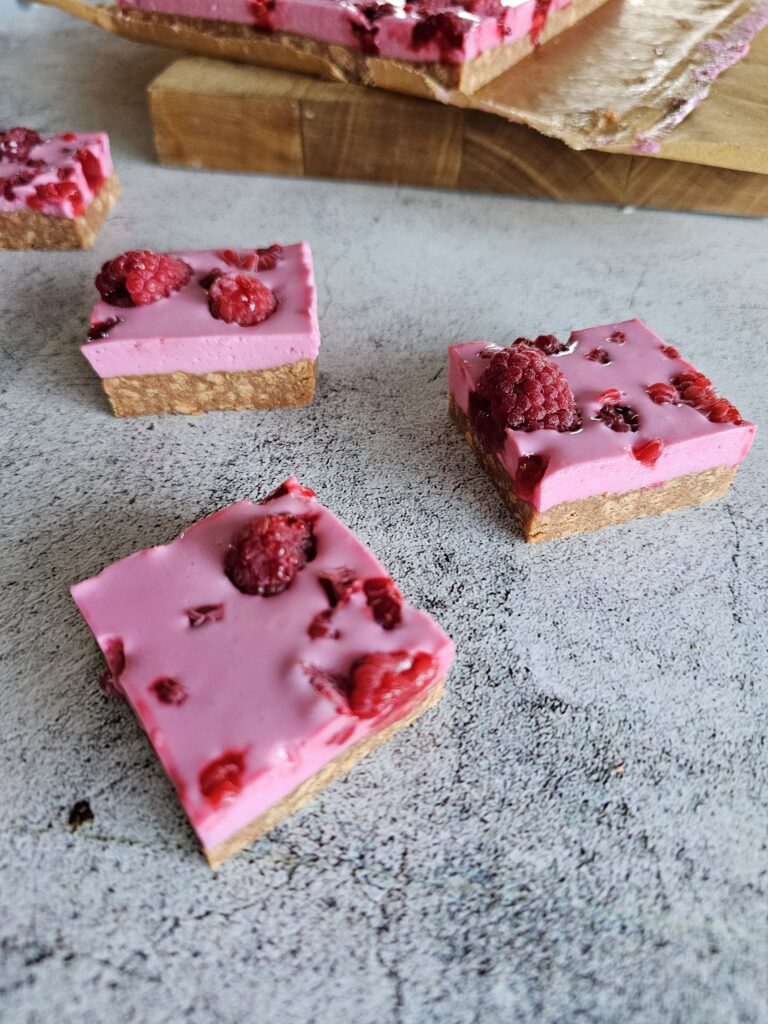
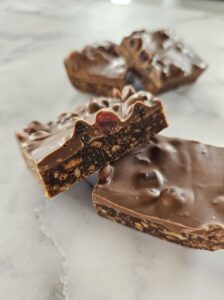
This is the perfect sized cheesecake for your family. Set in a 25cm x 25cm brownie tin it will make 16 perfect handheld sized pieces of cheesecake.
But if you are off to a community event or a larger gathering I would suggest doubling the mixture and setting in a 22cm x 33cm (9″ x 13″) tin. Doubling this recipe is easy especially because it uses up a while can of condensed milk and a while packet of cream cheese, avoiding forgotten ingredients in the fridge.
Would you believe that this recipe only has six ingredients!
Make sure to use malt biscuits for the base. A malt biscuit is a type of sweet biscuit that incorporates malt extract as one of its key ingredients. This gives the biscuit a distinctive, rich, and slightly caramel-like flavour. It also crushes up fine and makes a less crumbly base than other cheesecakes.
If you make this recipe and have left over ingredients. Make sure to store the condensed milk properly is important to maintain its quality and prevent spoilage. Here are the steps to do it:
- Transfer to an Airtight Container: Pour the remaining condensed milk into a clean, airtight container. Avoid storing it in the opened can as it may affect the flavor and quality.
- Refrigerate: Place the airtight container in the refrigerator. Condensed milk can last up to two weeks when refrigerated properly.
- Label the Container: Write the date you opened the can on the container to keep track of how long it has been stored.
- Stir Before Use: Condensed milk can sometimes thicken or separate slightly when refrigerated. Stir it well before using it to ensure a smooth consistency.

I like to use the Philadelphia cream cheese as it comes in cardboard packaging. It is wrapped in foil (not completely rubbish free) but it does mean no single use plastic waste.
Cream cheese is a soft, mild-tasting fresh cheese made from milk and cream. It has a smooth and creamy texture and a slightly tangy flavor. Cream cheese is commonly used as a spread for bagels and crackers, a key ingredient in cheesecakes, and in various culinary recipes, both sweet and savory.
In a cheese cake the main job of the cream cheese is to act as a binding agent, helping to hold the other ingredients together. This ensures that the cheesecake sets properly and maintains its shape when sliced.
Storing cream cheese properly ensures it stays fresh and safe to eat. Here are the best practices for storing cream cheese:
Unopened Cream Cheese:
- Refrigerate: Keep unopened cream cheese in the refrigerator. It should be stored at a temperature below 40°F (4°C).
- Check Expiration Date: Ensure you use it before the expiration date printed on the package.
Opened Cream Cheese:
- Airtight Container: After opening, transfer the cream cheese to an airtight container or wrap it tightly with plastic wrap or aluminum foil to prevent exposure to air and moisture.
- Refrigerate Promptly: Place the container in the refrigerator immediately after use.
- Use Quickly: Aim to use opened cream cheese within 1-2 weeks for the best quality. Always check for signs of spoilage before using it.
Check for signs of spoilage:
- Off Smell: If the cream cheese has a sour or off smell, it is likely spoiled.
- Discoloration: Any signs of mold or discoloration indicate that the cream cheese should be discarded.
- Texture Change: If the texture becomes slimy or excessively dry, it may no longer be good to eat.
You can freeze cream cheese
- Texture Changes: While you can freeze cream cheese, be aware that its texture may become crumbly and less smooth after thawing. It is still usable in cooked dishes or baked goods but may not be ideal for spreading.
- Freezing Process: It is best to freeze the cream cheese that is wrapped in foil. If you freeze a plastic container, make sure the lid is secure and no air can get in.
- Thawing: Thaw frozen cream cheese in the refrigerator overnight before using.
It is such a quick and easy recipe to whip up!
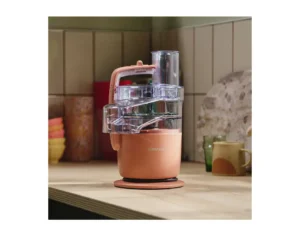
I use my Kenwood ‘multipro go’ to blitz up the malt biscuits. It stores away really easily and is light. So it is not a burden to lug around the kitchen when you need to use it.
When it becomes time to make the cheesecake topping you can either whip it up in your food processor, or a Nutribullet type machine. This ensures the cream cheese is fully incorporated with the cool jelly mixture.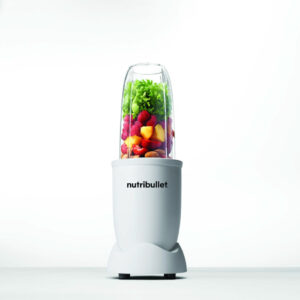
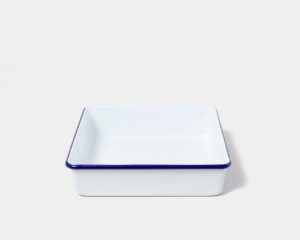
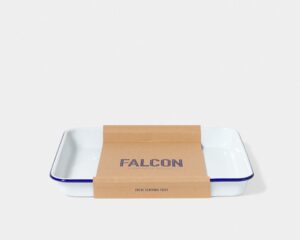
I have suggested two tin sizes for single and double mixtures. These are two tins I like to use in my kitchen. If you don’t have these sizes it is okay. It will just result in a different ration of base and topping. I am a big advocate for using what you have in the kitchen and not purchasing things you may not need. But if you are looking for a new tin then these two are great examples of quality pieces.
Lining a baking dish can serve several purposes, such as preventing sticking, ensuring even cooking, and making cleanup easier. Here are various methods to line a baking dish:
1. Baking Paper
- Cut to Size: Cut a piece of parchment paper to fit the bottom and sides of the baking dish.
- Grease the Dish: Lightly grease the dish to help the parchment paper stick.
- Corners: For square or rectangular dishes, cut slits in the corners of the parchment paper to help it fit snugly.
2. Butter and Flour
- Butter the Dish: Spread a thin, even layer of softened butter over the bottom and sides of the dish.
- Flour the Dish: Sprinkle flour over the buttered surface, then tilt and shake the dish to coat evenly. Tap out excess flour.
3. Non-stick Baking Spray
- Spray Evenly: Spray the baking dish with a non-stick cooking spray, ensuring even coverage on the bottom and sides.
- Additional Lining: For added insurance, you can also use a piece of parchment paper after spraying.
4. Silicone Baking Mats
- Cut to Size: If needed, cut a silicone baking mat to fit the bottom of the dish.
- Reusable: These mats are reusable and easy to clean, ideal for frequent bakers.
5. Greased Paper Bags
- Alternative Liner: In a pinch, you can use greased paper bags cut to size as a liner. Grease the paper bag well to prevent sticking.
Choosing the right method depends on the recipe and personal preference. Each method has its benefits, whether for ease of removal, cleanup, or ensuring the perfect bake.
Tips for Lining a Baking Dish:
- Precision Cutting: Use scissors to cut parchment or foil precisely to fit the dish.
- Slits in Corners: Cut slits at the corners of the paper or foil to help it fit better into square or rectangular dishes.
- Double Lining: For extra sticky recipes, consider using both parchment paper and a layer of foil.
If you are looking for more of my ‘no bake’ recipe ideas you should try one of these;
“No bake” desserts are popular for several reasons
1. Ease and Convenience
No bake desserts often require fewer ingredients and simpler preparation methods, making them accessible to beginners and experienced bakers alike. These desserts typically come together quickly, saving time in the kitchen, which is perfect for those without an oven or when the oven is occupied with other dishes.
2. Time Efficiency
Many no bake desserts can be made in a short amount of time, ideal for last-minute gatherings or when you need a quick treat. While some no bake desserts need time to set in the refrigerator, they usually require less active preparation time compared to baked goods.
3. Energy Efficiency
No Baking Needed! No bake desserts don’t require the use of an oven, which is great for saving on energy costs and avoiding heating up the kitchen, especially in warm weather.
4. Kid-Friendly
‘No bake’ slices are great safe for option for Kids to bake, involving children in the kitchen, as there is no risk of burns or accidents associated with using an oven. Many no bake desserts are fun to make and decorate, providing an enjoyable activity for you to do with your children.
5. Consistent Results
Without the variability of oven temperatures and baking times, no bake desserts tend to yield more consistent results. There’s no risk of overcooking or burning, which can be a concern with traditional baking.

Cheat Raspberry Cheesecake
Equipment
- 25cm x 25cm square tin
- kitchen whizz (food processor)
- nutribullet
- Scales
Ingredients
Base
- 1 packet malt biscuits (250 grams)
- ½ can condensed milk (198 grams)
- 125 grams butter
Cheesecake topping
- 1 cup boiling water
- 1 box raspberry jelly crystals (85 grams)
- 125 grams cream cheese
- ½ cup raspberries (frozen will work too) (optional)
Instructions
Base
- Melt the butter and condensed milk together over a low heat, stirring occasionally to avoid the mixture burning .
- Blitz the malt biscuits into a fine biscuit crumb using a kitchen whizz (or alternatively place in a pillow slip and beat with a rolling pin).
- Add the liquid ingredients to the biscuit crumbs and combine.
- Spread evenly over the base of your lined pan and press down with a clean hand until you have a form base. Use the back of a wet spoon to smooth the base until it is level.
- Place in the refrigerator to set.
Cheesecake topping
- Combine the cup of boiling water and jelly crystals. Stir until all crystals have dissolved and place in the fridge to cool. Be careful not to set.
- Once the jelly liquid is cool place in a nutrubullet or kitchen whizz along with the cream cheese and whizz until smooth.
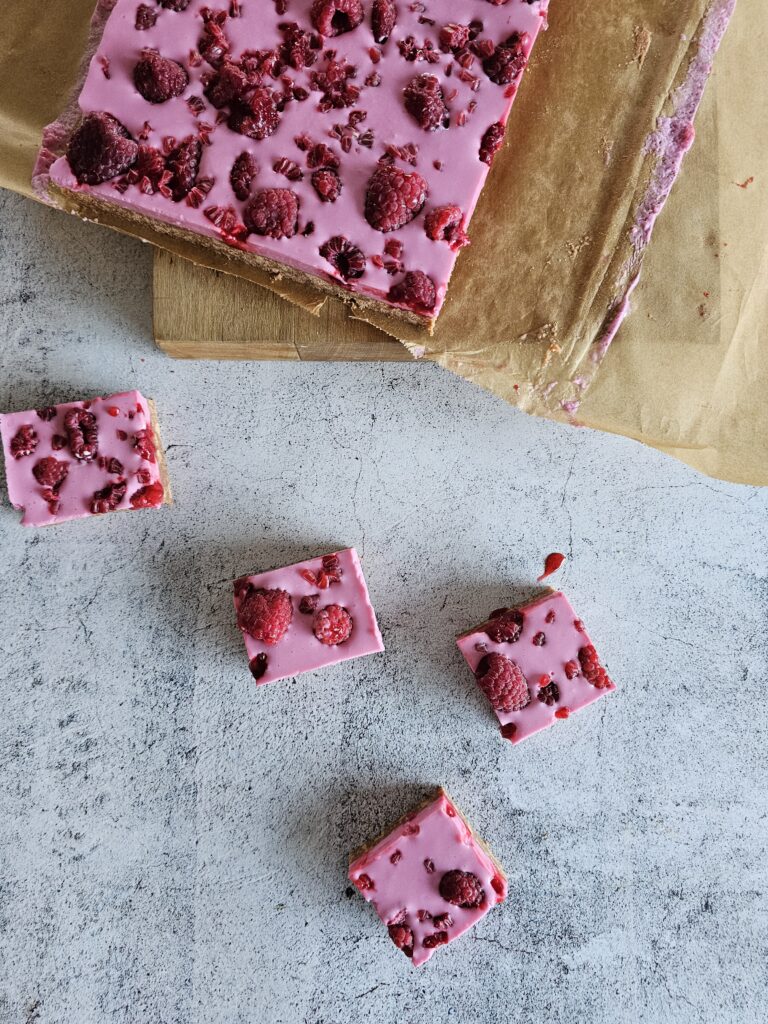
- Pour over the biscuit base. Arrange your raspberries on top, and place in the fridge to set.
- Use a clean warm knife to cut.
- Store in an airtight container in the fridge for up to five days.
- (this recipe is easily doubled - which is helpful to use up the whole can of condensed milk and whole packet of cream cheese. Use a 22cm x 33cm - 9" x 13" tin instead).